Today's Windsor Photographic Society 'Mono Magicians Photo Walk' will take place around the streets of Windsor, the two railway stations and a short walk along the Thames.
The theme of the walk will be Mono Double Exposures.
My new best friend ChatGPT offers the following advice:
The theme of the walk will be Mono Double Exposures.
My new best friend ChatGPT offers the following advice:
1. Think in Shapes, Not Colours
In monochrome, you lose colour separation, so contrast and outline become your language.
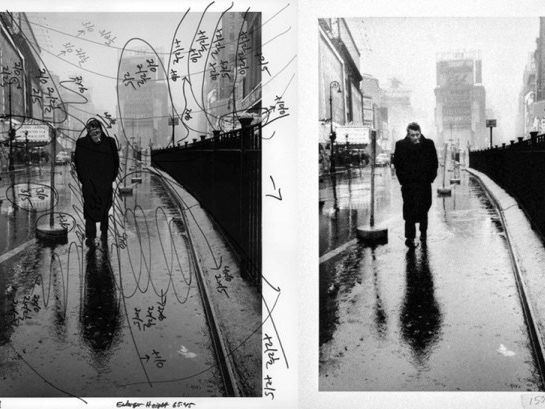
Look for subjects with strong silhouettes (trees, buildings, people in profile) for the base image.
Your overlay image should have fine texture or pattern (clouds, leaves, water ripples) to fill the shapes without cluttering.
2. Reverse the Thinking: Light on Dark
Double exposures work well when light areas in one image replace dark areas in the other.
If your camera allows, use a lighten or additive blend mode for a more ghostly feel, or darken mode for stronger outlines.
In black and white, this contrast is even more dramatic.
3. Shoot for Layer Compatibility
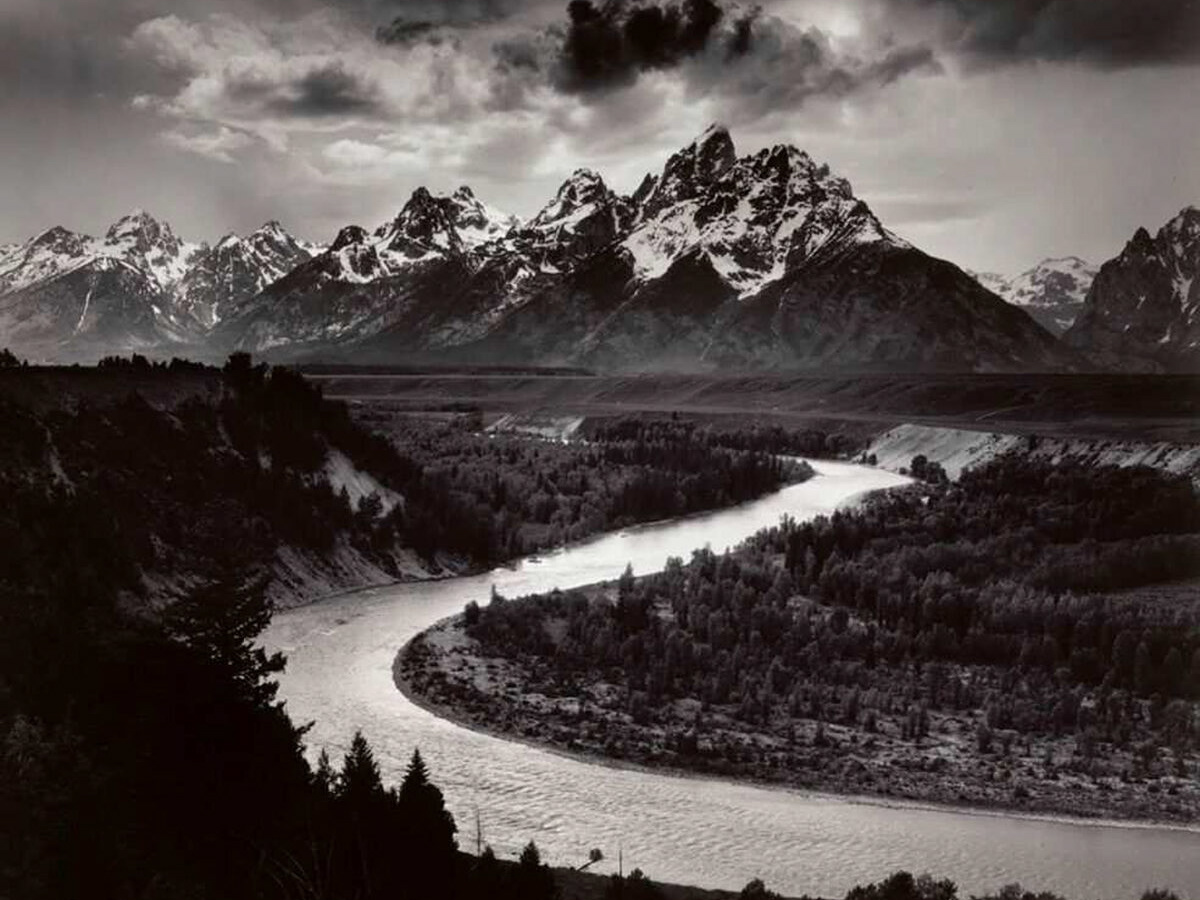
First exposure: A clean, bold subject (person in profile, architectural feature).
Second exposure: Patterns, landscapes, or textures that complement the shapes of the first.
Avoid too much fine detail in both layers — one should be the “anchor,” the other the “fill.”
4. Play With Perspective
Overlay macro textures (like peeling paint or cracked mud) onto wide landscapes for surreal scale shifts.
Try putting city skylines inside portraits, or tree branches inside animal silhouettes.
5. Embrace Negative Space
Monochrome double exposures can get messy — leaving open sky or simple backgrounds in one frame lets the other image breathe.
A silhouette shot against white sky makes an excellent “canvas” for your second exposure.
6. Control the Tonal Range
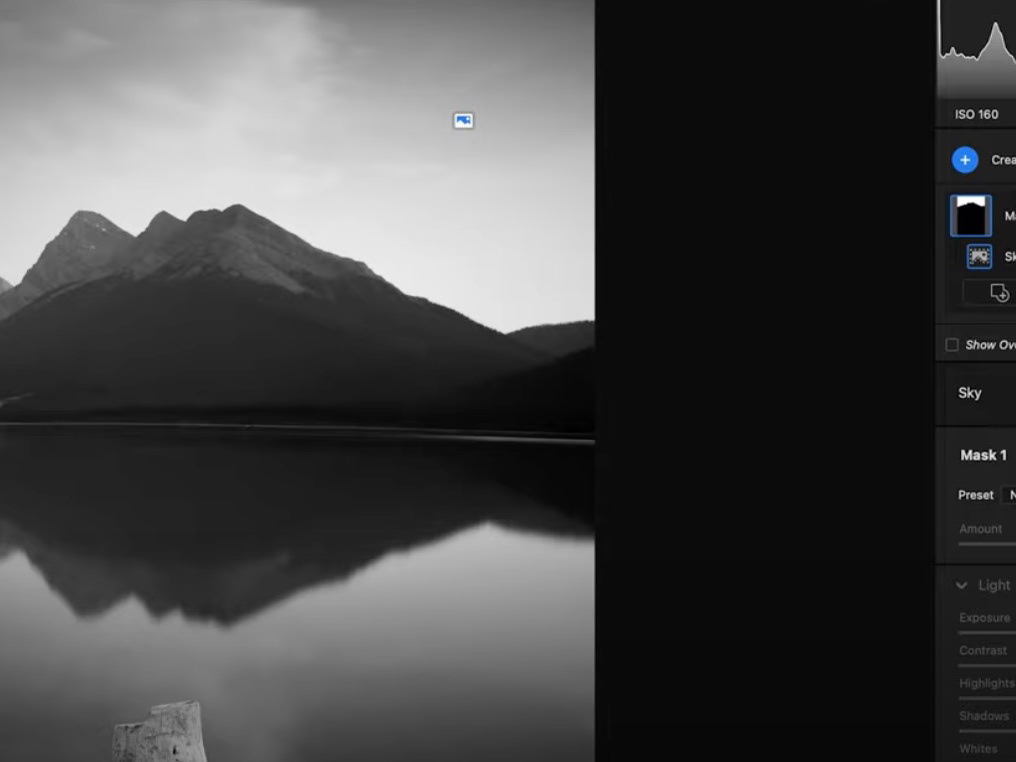
When converting to monochrome, use your B&W mix sliders (Lightroom / Photoshop) to adjust contrast between the two exposures.
You can darken skies or lighten foliage before the blend to make the textures separate more cleanly.
7. In-Camera vs Post-Processing
In-camera double exposure forces creative constraint and happy accidents.
Post-processing (Lightroom + Photoshop or ON1 Photo RAW) gives total control over masking, blending, and tonal curves — especially useful for monochrome where fine contrast tuning matters.
8. Add a Narrative
Think about pairing images that tell a story together:
A fisherman silhouette + crashing waves texture.
An old hand + weathered wood grain.
A child’s profile + playground shadows.
9. Use Long Exposures as One Layer
Clouds streaking, water flowing, or lights trailing can become an abstract texture layer.
This works well in monochrome because movement reads as soft tonal gradients.
10. Experiment With Partial Overlaps
You don’t have to cover the whole frame — sometimes just overlaying textures on part of the subject creates more intrigue than flooding the entire image.
Photos taken during the Photowalk in Windsor
August 2025
August 2025
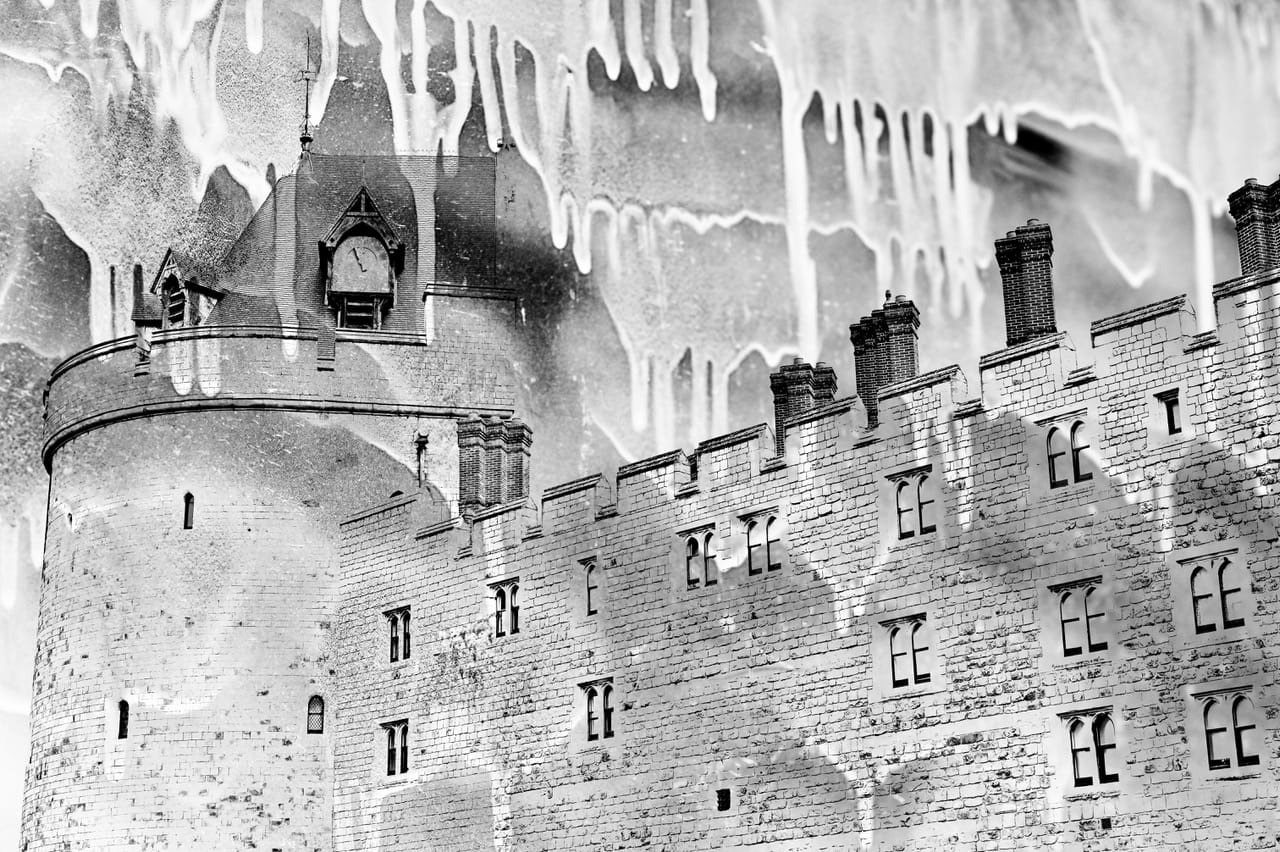
Dripping with History - Julia Hall
High Street Windsor
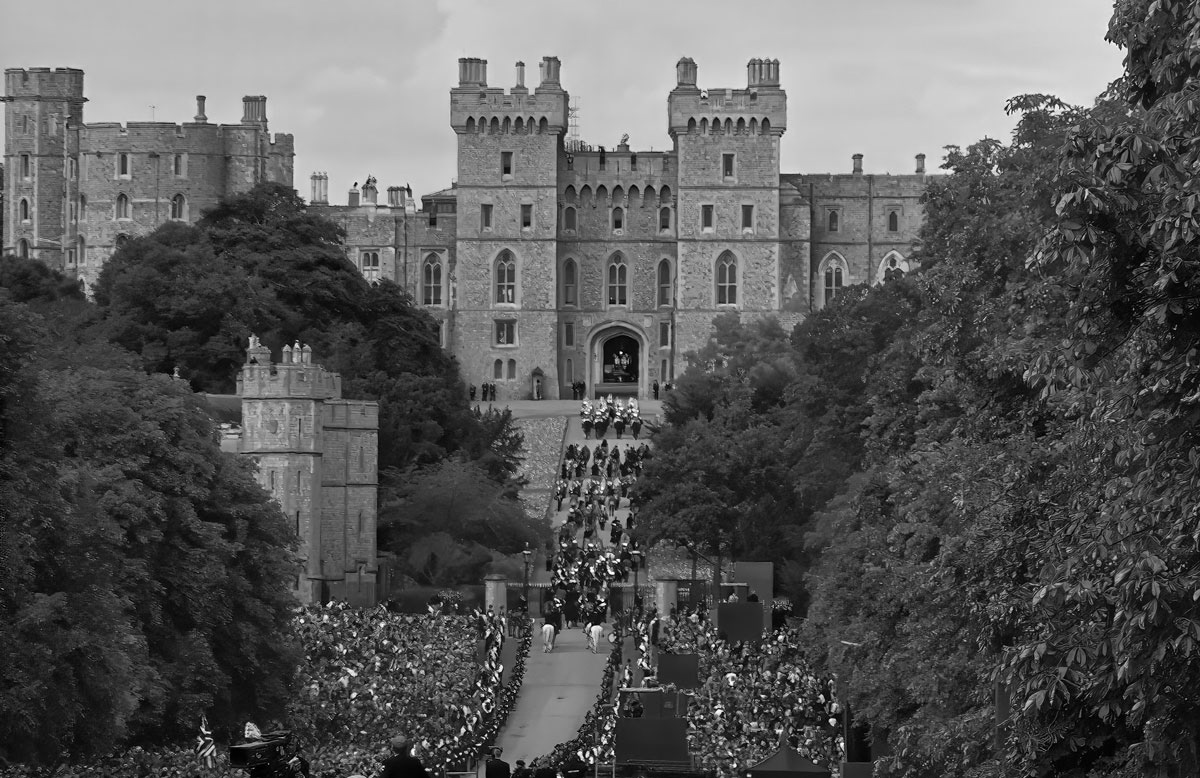
Windsor Castle
Windsor Castle
ISO 125 51mm f8 -1ev 1/160s
In camera multiple exposure with 2 images.
Landscape and landscape.
Landscape and landscape.
Monochrome in post editing.
Per chance, I saw a reflection of the castle in a window and immediately composed a picture in my mind that will convey a nostalgic/tragic feeling of what Windsor Castle had seen as it witnessed history.
A dirty window across the street from Castle imposed on the castle's clock tower.
Julia Hall
Julia Hall
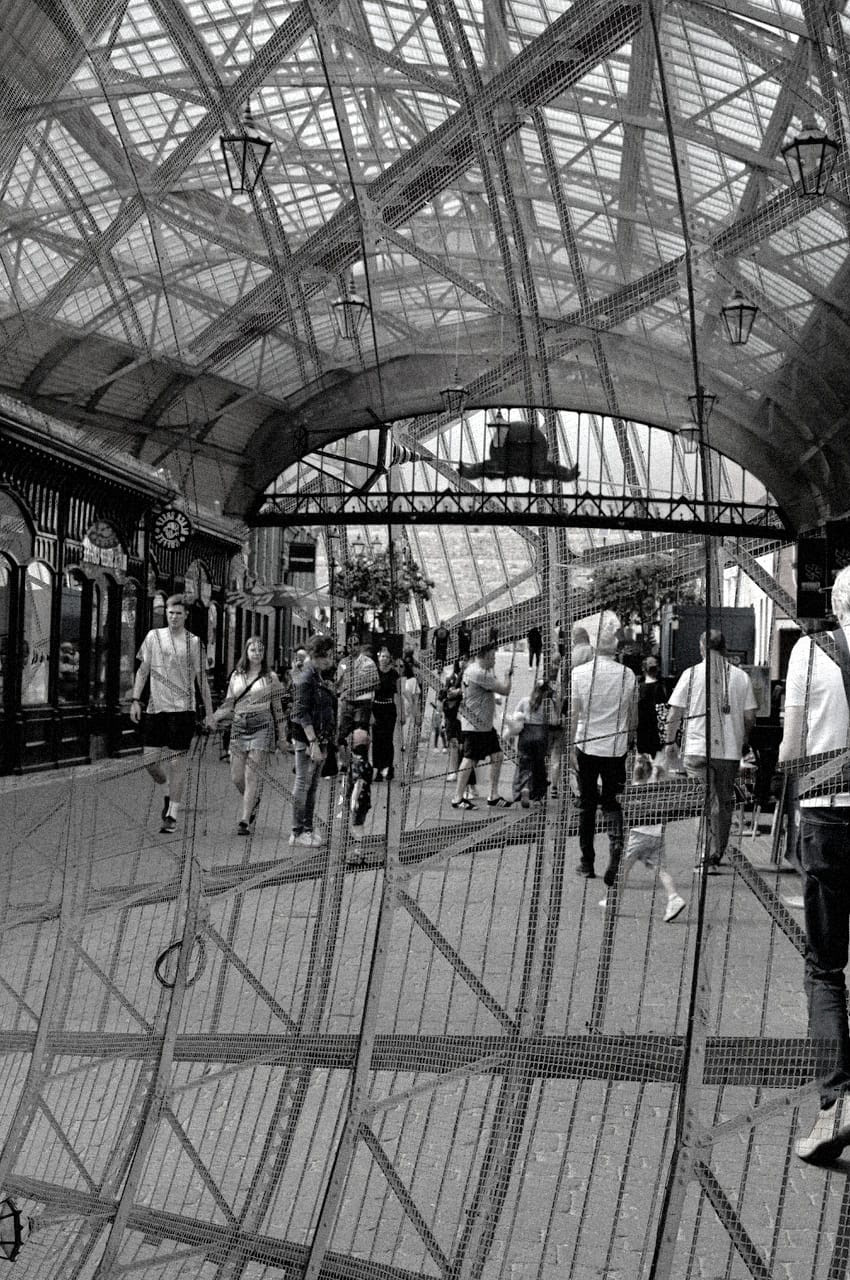
Prisoners of Commerce - Julia Hall
Royal Windsor Shopping (Centre)
ISO 320 44mm f10 -1ev 1/160s
In camera multiple exposure with 2 images.
Landscape and Portrait
Landscape and Portrait
Monochrome in post editing
Composed to evoke "trapped" almost "caged like" emotion with the busy criss crossing of the cast iron roof lines.
Always busy with pedestrians and shop fronts.
The result: Commercialisation in full force.
Julia Hall